Microsoft PowerPoint is a popular tool for creating presentations. Whether you need to present at a meeting, give a class lecture, or just share ideas with friends, PowerPoint helps you organize your thoughts visually.
Here are some points given below.
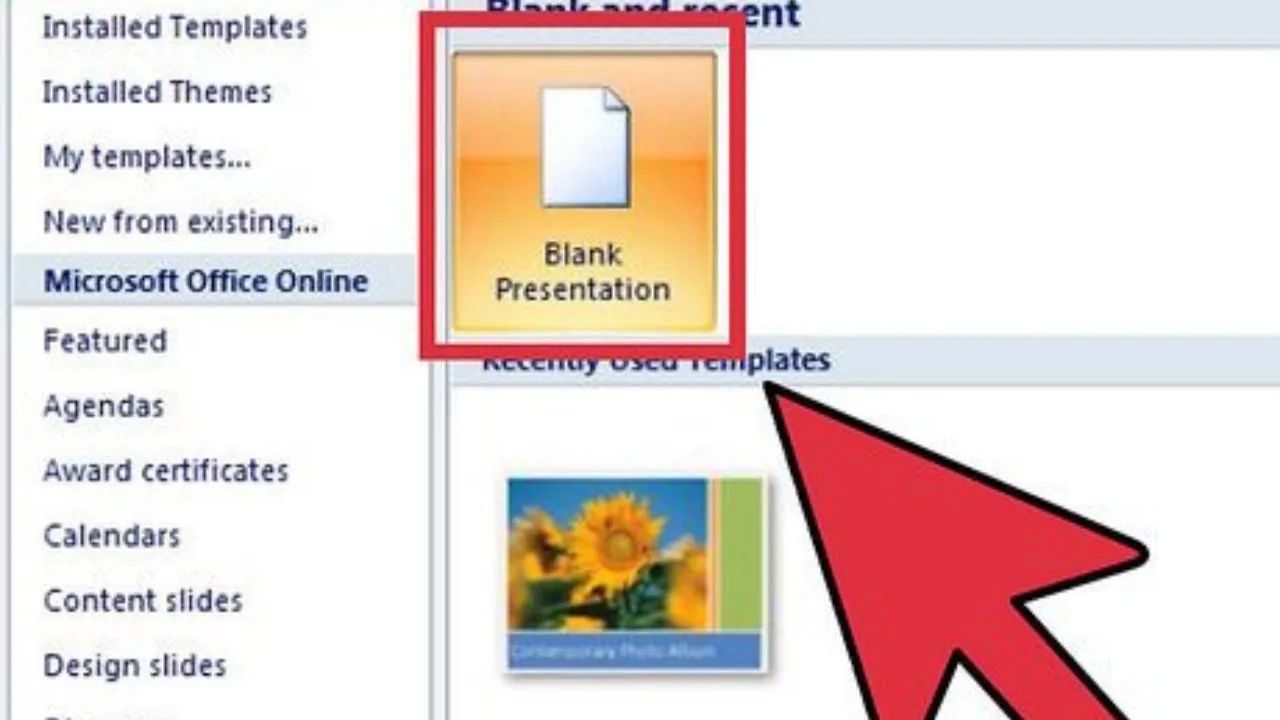
1. Getting Started
First of all, open PowerPoint on your computer, and you will see a blank slide if the option does not ask you for a blank presentation, then it will be launched automatically.
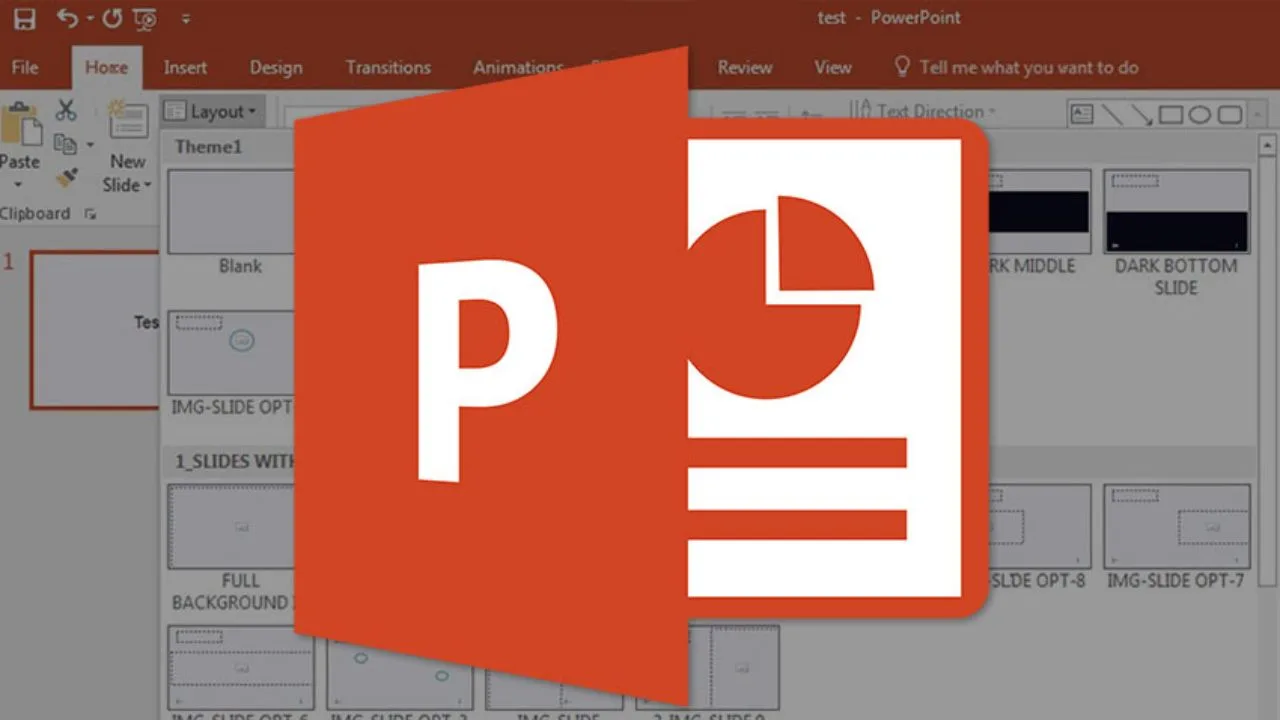
2. Choosing Design
Now next you have to choose which design You have to do for the presentation, to do this click on design scroll to the option then choose which design you want for the presentation.
3. Create a title page
In the box that says add title first click on it then add title and then add two titles Click on Presentation to add your name on the bottom box. Once your text appears in the box, you can change its font, size, colors, etc. Make sure your text is clear and easy to read.
4. Adding Images and Videos
There are some ways you can add more slides. First of all, add slides by right-clicking on the slide where your first slide is and selecting a new slide, new Slides will be generated according to the layout you choose, you can add your information in another way you can insert pictures and graphs even when you have an empty text or image box.
5. Adding Charts and Graphs
If you want to present data, then You can insert charts and graphs. Choose the type of chart you want.
Just enter the data directly in the Excel sheet and you will get the chart automatically. Once you have your chart or picture, you can add a border or edit it however you want in the ‘Format’ tab.
6. Adding Transitions and Animations
If you want to add transitions between slides, click ‘Animations’ at the top of the page. Animations affect the elements within the slide.
7. Practicing Your Presentation
Once all the slides are completed, you can view the slides in the order you want. Before presenting, go through your slides to make sure everything looks right.
8. Saving and Sharing
To save your presentation, click “File” and then “Save As.” Choose a location on your computer and give your file a name. You can also share your presentation by clicking “File” and then “Share” to send it via email or upload it to the cloud.