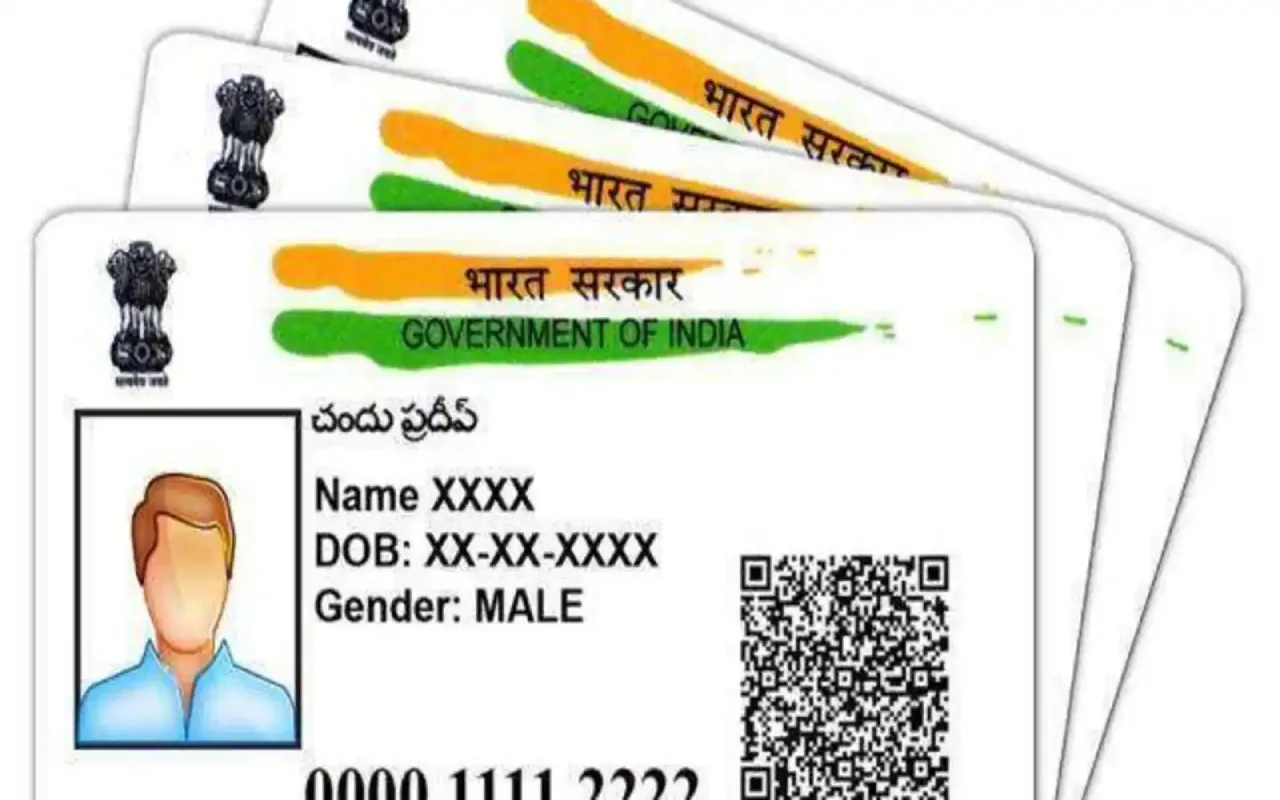
The Aadhaar card, a vital piece of ID in India, stores your demographic and biometric information. But life throws curveballs, and sometimes your details change. So, what happens when your address shifts, or you get that new phone number? Fear not! Updating your Aadhaar card is possible, and the good news is, you might be able to do it from the comfort of your couch! Let’s explore the world of self-service Aadhaar updates and see if you can tackle it on your own.
The Convenience of Online Updates: When DIY Works
Thankfully, the Unique Identification Authority of India (UIDAI) understands the need for easy updates. They offer an online portal called the Self Service Update Portal (SSUP) that allows you to update specific Aadhaar details without leaving your home. But hold on a sec, can you update everything online? Here’s the lowdown:
- Address Update: Feeling like a proud homeowner or just renting a new place? The SSUP lets you update your current address on your Aadhaar card. No more scrambling to explain the old address on important documents!
- Document Update: Did your phone number change? Maybe you finally got that swanky email address? The SSUP allows you to update documents linked to your Aadhaar, like your phone number or even your email address (if you’ve registered one).
Important Note: As of now, the online update party is limited to address and document changes. If you need to modify details like your name, date of birth, or gender, you’ll need to visit a Permanent Enrollment Centre (PEC).
Gearing Up for the Online Update: A Few Pointers Before You Start
Before diving into the online update process, there are a few things to keep in your mental backpack:
- Registered Mobile Number: This is your golden ticket to the online update party! The SSUP requires your mobile number to be registered with your Aadhaar. This is how they send you a one-time password (OTP) for verification. If your number isn’t registered, you’ll need to visit a PEC to get it sorted.
- Scanned Documents: Proof is key! Depending on the update you’re making, you might need scanned copies of documents as proof. For example, updating your address might require a copy of your utility bill. Make sure the scans are clear and legible. You can find a list of acceptable documents on the UIDAI website (https://uidai.gov.in/).
- Stable Internet Connection: Think of it as the highway for your update request. An uninterrupted internet connection is essential for a smooth online update experience. Buffering and disconnections can be frustrating, so ensure a good connection before you start.
Taking Charge: A Step-by-Step Guide to Online Aadhaar Updates
Now that you’re prepped, let’s conquer the online update process together! Here’s a step-by-step guide to help you navigate the SSUP:
-
Head to the Official Portal: Just like visiting a government office virtually, you need to go to the official UIDAI website (https://uidai.gov.in/). Navigate to the “Update Your Aadhaar” section. Here, you’ll find the link to the SSUP portal.
-
Login and Verification: Think of this as showing your ID at the virtual door. Enter your Aadhaar number and click on “Send OTP.” An OTP will be sent to your registered mobile number. Enter the OTP in the designated field and click on “Login.”
-
Choosing Your Update: Once you’re logged in, you’ll see options for various updates. Here’s where you choose the update that fits your needs – address or document update.
-
Filling Out the Update Request: Consider this the update application form. Select the update type you need and proceed to fill out the online form carefully. Double-check all the information you enter, especially the new details. Remember, accuracy is key!
-
Uploading Documents: Think of this as attaching proof to your application. In most cases, you’ll be required to upload scanned copies of documents as proof of the changes. Ensure the scans are clear and legible. The portal specifies the format and size requirements for the uploaded documents, so pay close attention to those.
-
Review and Submit: Once you’ve filled out the form and uploaded the documents, take a deep breath and review everything for accuracy. If everything looks good, submit the update request. Imagine pressing the submit button at a physical office!
-
Payment and Update Request Number: There might be a small fee involved, kind of like a service charge. You’ll be prompted to make a small online payment (usually around Rs. 50) to process the